
How to make an Epoxy River Board
What we Discuss
1. Getting Started
2. Preparing your piece
3. Choosing a Mold + Resin
4. Mixing the Resin
5. Adding Pigment
6. Getting your Project out of the Form
7. Finishing Details

Shop for these supplies and more Here !
1. Getting Started
Resin can be a messy chemical to work with.
Make sure the room you pour in is within the temperature range that the epoxy instructions suggest.
Some cheaper resins have a smell so make sure you are wearing a respirator or you are in a well ventilated area.
To keep the process clean, have lots of rags on hand and wear gloves.
We recommend buying a higher quality resin which can eliminate a lot of issues that can come with working with epoxy. Purchase reputable brands here

Purchase a Layout Template Here
2. Preparing your pieces
Cut your wood pieces to size so they will fit inside your form. Remember most molds have angled walls and are manufactured to be malleable so that your project will pop out easily. Using a Lay-Out Template can be useful. Simply use the same size template to match your form size. Lay it over your wood pieces and trace out the edges. Cut the pieces to size in your desired configuration and they will fit perfectly in your form.

We have used a clamp here in the middle to keep the form flat to the work surface.
3. Choosing a Mold + Resin
We recommend using Empire Molds which do not have any seams that could crack open over long term use. To pro-long the life of your form we recommend to use this mold release (Not to be used in silicone forms).
Buying reputable Brand of Resin is important. For a charcuterie board your thickness will most likely be between 3/4" and 1" meaning you will want to use a casting resin. We recommend to measure your resin by volume to get the most accurate ratio. If you are using a scale, some brands Part A and Part B have different densities. If improperly mixed this could effect the curing process. To calculate how much Resin you will need click Here

4. Adding Pigment
Suggested: 1/8 teaspoon per 1 litre to give you a medium transparency.
Read "All you need to know about Pigments" for more information
Measuring Spoons are handy to have so you can record how much pigment you are adding in to each project. We recommend documenting the amount of pigment so that you can duplicate that look if you get another order for that same look.

Mixing your resin throughly is important making sure you even scrape the side of the container.
5. Pouring your Resin
It is recommended to have 10% more resin then your calculation to accommodate for what will soak into the wood grain. Make sure to monitor your pour for the first 6 - 8 hours if possible.
If you have purchased a higher quality brand the bubbles should come to the surface and pop on their own.There is no harm in using a heat gun to give a quick pass over the surface to guarantee no bubbles cure in the epoxy. Make sure you are not holding the heat gun in one place. This could cause the epoxy to over heat and cure too fast resulting in cracks and bubbles in the epoxy.

These white forms come with hold down bars so your wood won't float up when pouring epoxy in. Extra clamps are always handy to have to keep the form flat to your working table
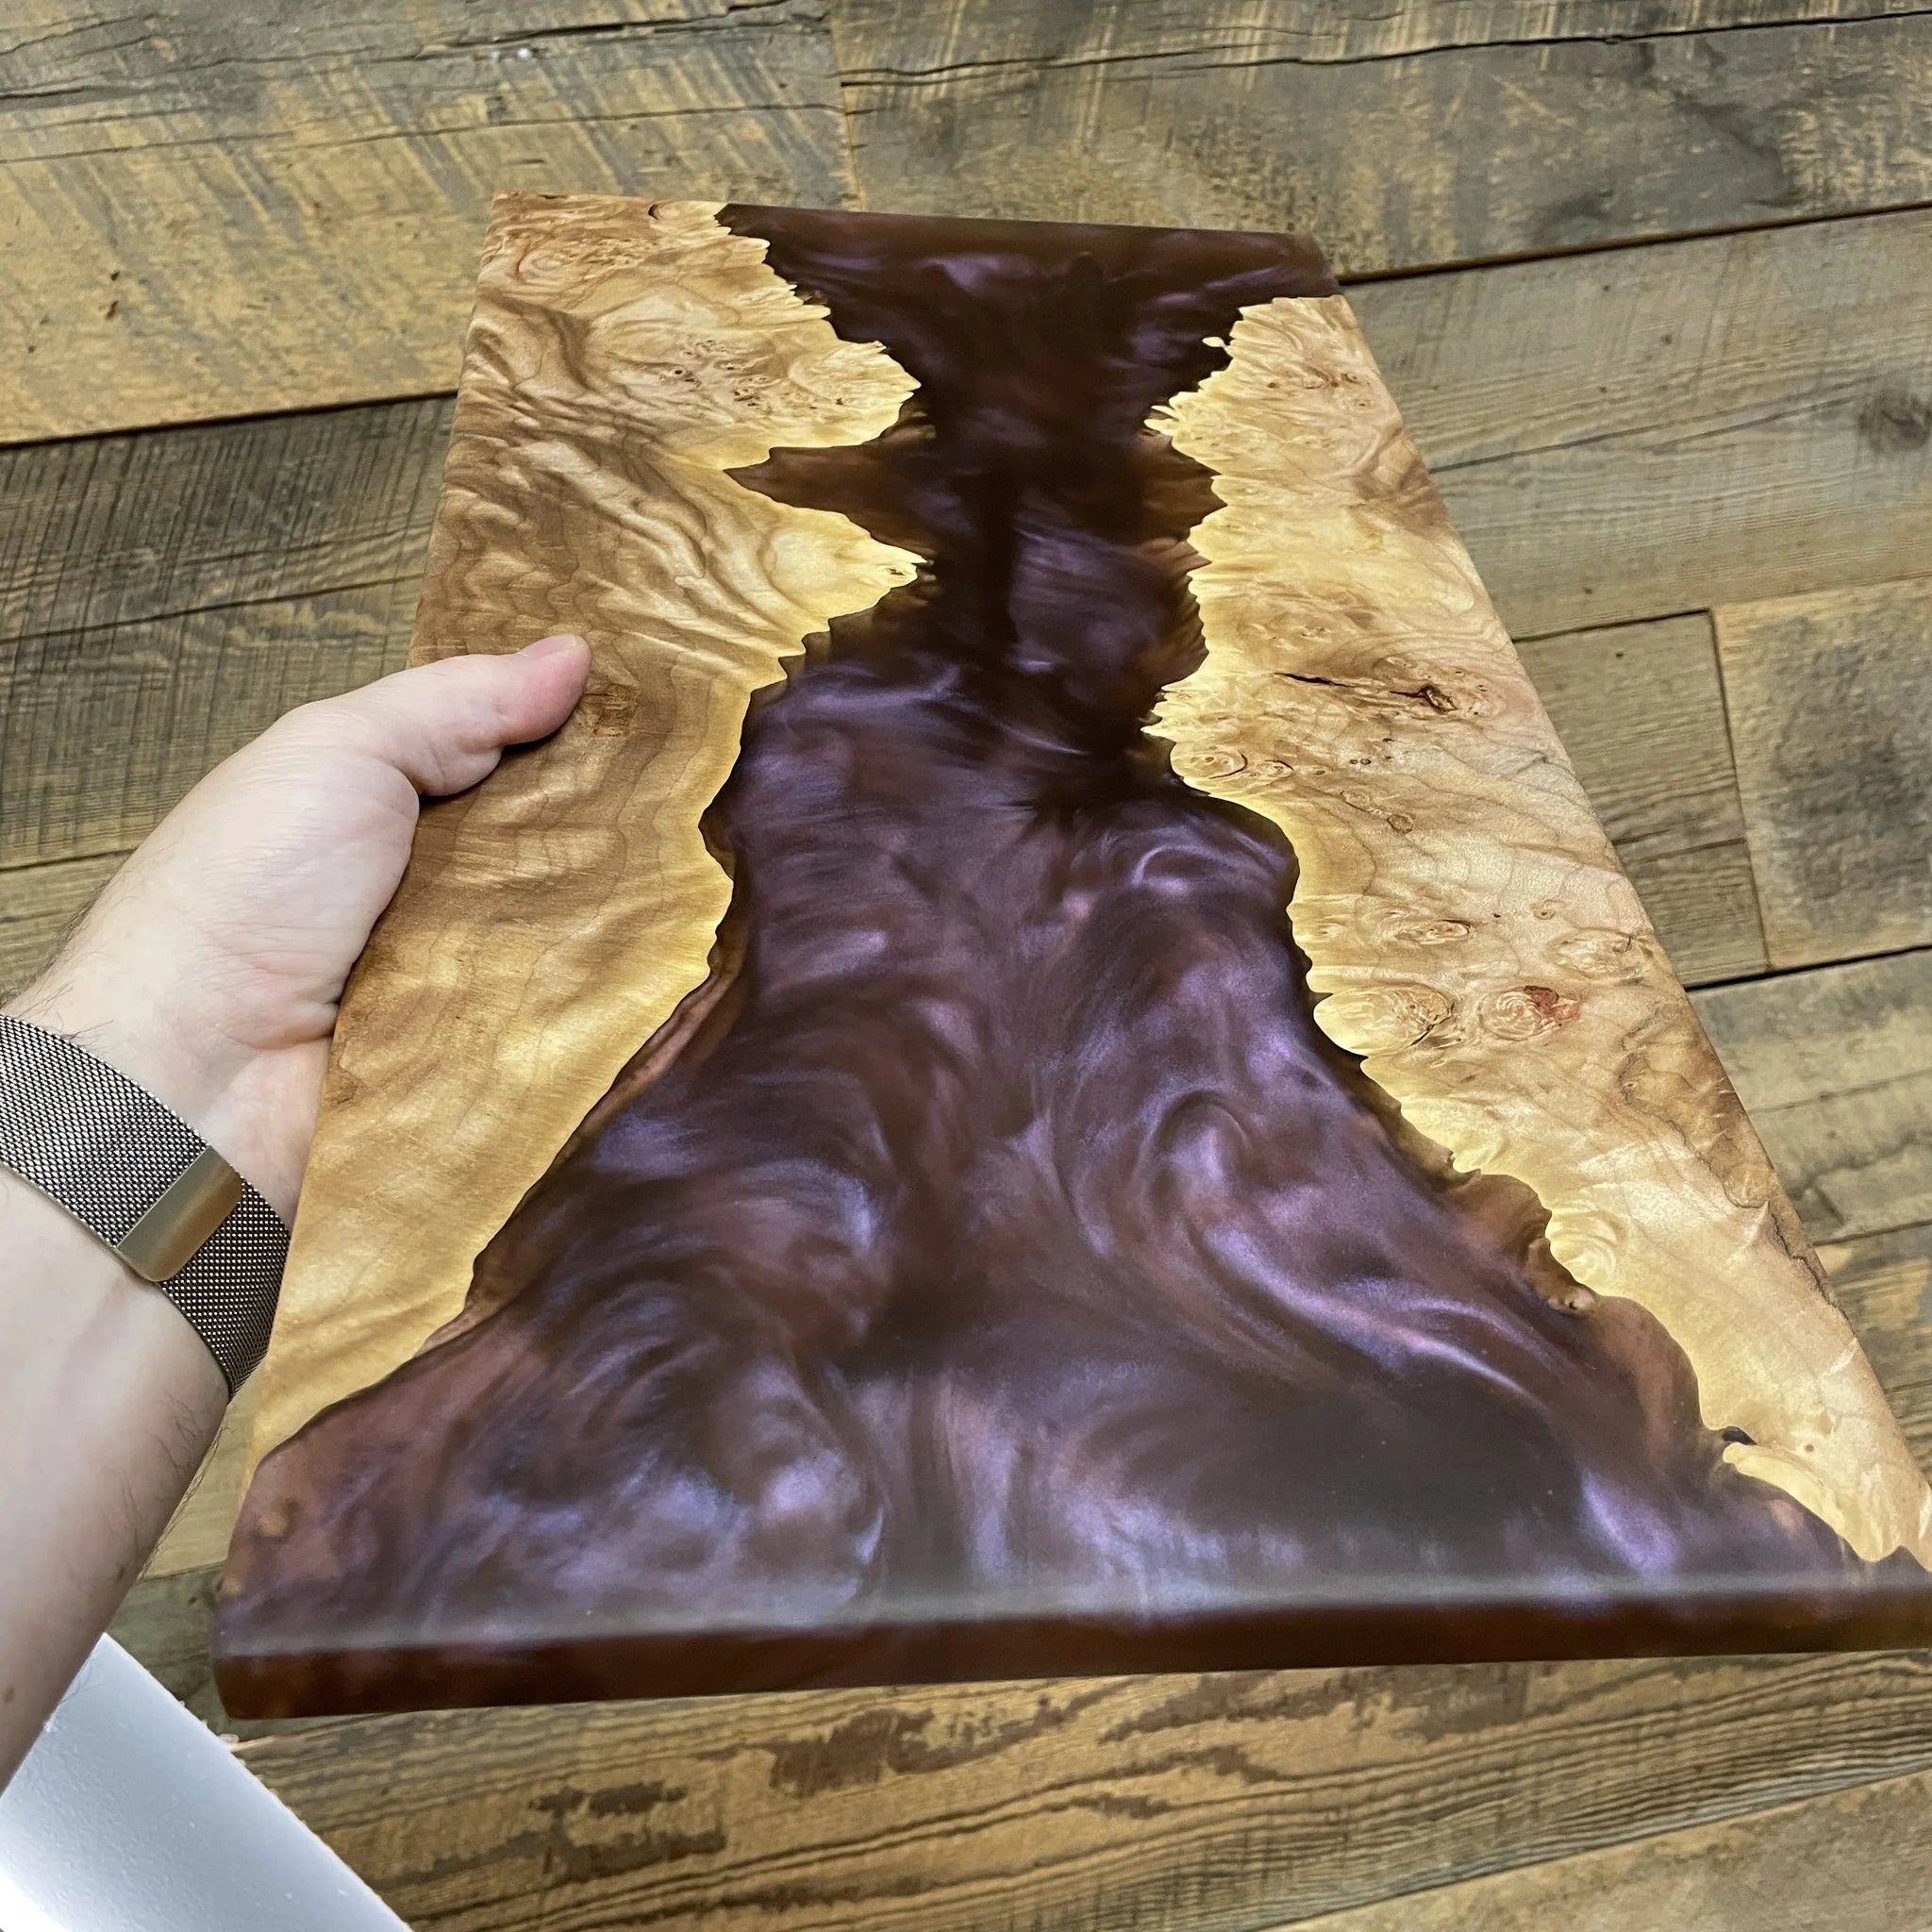
6. Getting your Project out of the Form
Simply tap the form with a rubber mallet to release the cured epoxy. Tap the middle portion of the walls and you will hear your pour 'release' from the form wall breaking away (When the form releases from the epoxy, it makes a loud “crack” when hit). Forms typically have tapered walls which allows for easy release when getting your project out of the form. If you are using the Empire Molds 'Black Edition' removal of your project can be done without a a mallet.
Check out this video HERE, HERE and HERE to see examples of how to get your proejct out of the form.
Check out pigment recipes for projects here
7. Finishing Details
Once your piece has been popped out if it's form it's time to Sand + Oil.
Read our sanding guide 'Tips and Tricks' for best practices.
We recommend an oil finish as they are very DIY friendly and easy to maintain.